Setup básico para OpenGL com C++ no Linux
Antes de começar precisamos descobrir se temos os drivers para OpenGL instalados na nossa máquina.
$ glxinfo | grep OpenGL
OpenGL vendor string: Intel Open Source Technology Center
OpenGL renderer string: Mesa DRI Intel(R) HD Graphics (Whiskey Lake 3x8 GT2)
OpenGL core profile version string: 4.5 (Core Profile) Mesa 19.1.8
OpenGL core profile shading language version string: 4.50
OpenGL core profile context flags: (none)
OpenGL core profile profile mask: core profile
OpenGL core profile extensions:
OpenGL version string: 3.0 Mesa 19.1.8
OpenGL shading language version string: 1.30
OpenGL context flags: (none)
OpenGL extensions:
OpenGL ES profile version string: OpenGL ES 3.2 Mesa 19.1.8
OpenGL ES profile shading language version string: OpenGL ES GLSL ES 3.20
Caso a saída do comando esteja vazia é preciso procurar como instalar o Mesa 3D no seu sistema linux. Mas se tudo estiver nos conformes com os drivers, podemos partir para as bibliotecas essenciais:
Para instalar os pacotes dela no fedora seria algo como:
$ sudo dnf install glfw-devel glew-devel
Agora vamos começar a juntar tudo isso e escrever algum código. Vamos criar a pasta para nosso primeiro projeto e criar o primeiro arquivo de código fonte:
$ mkdir hello-world-opengl && cd hello-world-opengl && touch main.cpp
Usando o exemplo de como criar uma janela fornecido pela documentação do GLFW temos:
#include <iostream>

#include <GL/glew.h>
#include <GLFW/glfw3.h>

int main() {
    GLFWwindow* window;

    if (!glfwInit())
        return -1;

    window = glfwCreateWindow(640, 480, "Hello World", NULL, NULL);
    if (!window) {
        glfwTerminate();
        return -1;
    }

    glfwMakeContextCurrent(window);

    if (glewInit() != GLEW_OK)
        std::cout << "Erro!" << std::endl;

    std::cout << glGetString(GL_VERSION) << std::endl;

    while (!glfwWindowShouldClose(window)) {
        glClear(GL_COLOR_BUFFER_BIT);

        glBegin(GL_TRIANGLES);
        glVertex2f(-0.5f, -0.5f);
        glVertex2f(0.0f, 0.5f);
        glVertex2f(0.5f, -0.5f);
        glEnd();

        glfwSwapBuffers(window);
        glfwPollEvents();
    }

    glfwTerminate();
    return 0;
}
E agora? Fazemos o que com isso? Temos que compilar o nosso código junto com as bibliotecas para gerar o binário e executar o código. Vamos usar o CMake para facilitar o processo. Temos que escrever o CMakeLists.txt:
cmake_minimum_required(VERSION 3.15)
project(hello_world_opengl)

set(CMAKE_CXX_STANDARD 14)

add_executable(hello_world_opengl main.cpp)
target_link_libraries(hello_world_opengl -lGL -lGLEW -lglfw)
Agora só gerar o makefile, compilar e rodar o programa:
$ mkdir build && cd build
$ cmake ..
-- The C compiler identification is GNU 9.2.1
-- The CXX compiler identification is GNU 9.2.1
-- Check for working C compiler: /usr/lib64/ccache/cc
[...]
$ make
Scanning dependencies of target hello_world_opengl
[ 50%] Building CXX object CMakeFiles/hello_world_opengl.dir/main.cpp.o
[100%] Linking CXX executable hello_world_opengl
[100%] Built target hello_world_opengl
$ ./hello_world_opengl
3.0 Mesa 19.1.8
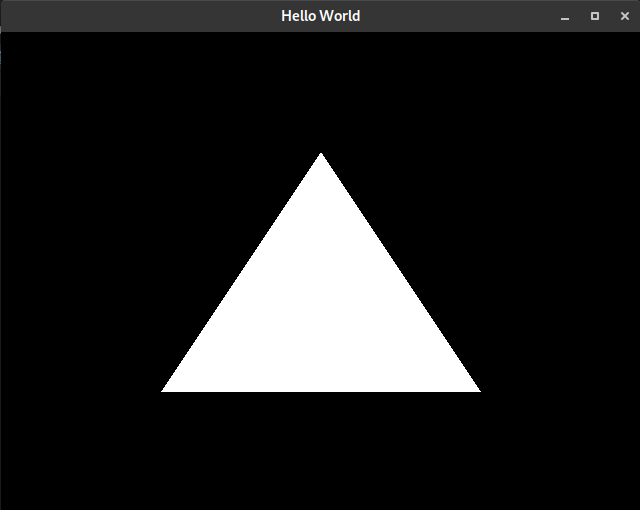
Resultado:
Se não mudar nada no CMakeLists.txt é só dar make -C ./build && ./build/hello_world_opengl.
Agora é só começar a brincar com OpenGL :D.